
The Saskatchewan Science Centre Online! Check out our hilarious and educational web series “SSCTV”, find downloadable resources, explore other cool science links, and tune into the live BUBOCam!
Understanding the Scientific Method
Exploring with the Scientific Method Science is all about being curious, asking questions, thinking through a problem and coming up with solutions to that problem. Using the scientific method, you can create your own experiment
Get Curious! Exploring With The Scientific Method
Science is all about being curious, asking questions, thinking through a problem, and coming up with solutions to that problem. Using the scientific method, you can create your own experiment. Below we have outlined an experiment to try first and practice your scientific observation skills before developing your own experiment.
Let’s review the Scientific Method
Ask a question – What is something you want to know more about?
Find out more – What information do you already know about your question?
Make a hypothesis – What do you think the answer to your questions is? What do you think will happen when you test?
Plan your investigation – How will you find out if your hypothesis is true? What is needed to test it?
Test your hypothesis – Get messy with science and test your experiment.
Observations – What did the experiment show you? All observations are important.
Conclusions – What does it all mean? Did your results show your hypothesis? Tell someone about your experiment and what you discovered.
To test out the scientific method, try doing this experiment. Make observations and share your conclusions with others.
Ice Melt Experiment
Question:
Does one kind of salt melt ice faster?
Find out more:
Ever wonder why salt is used on sidewalks in the winter? As ice melts you are changing the matter from a solid back into a liquid. Salt lowers the melting temperature of ice because it limits the number of atoms that can freeze within the water. The salt is acting as a solute — which is a substance that is dissolved in another solution. For every molecule of foreign particles, like salt, are dissolved in a kilogram of water, the freezing point goes down by roughly 1.7 to 1.9 degrees Celsius. Therefore, the more soluble a substance is the harder it is to freeze
Make a Hypothesis:
I think all salt will melt ice the same. (What do you think?)
Plan your investigation:
To conduct this experiment, you will need:
Ice: Water, ice cube tray or small containers
Types of salt: Sea salt, Epsom salt, Table salt
Other tools: measuring spoon, plate, clock or timer, freezer
Preparation: Fill ice cube tray with water or at least 4 small containers with water and place in the freezer overnight.
Experiment set up:
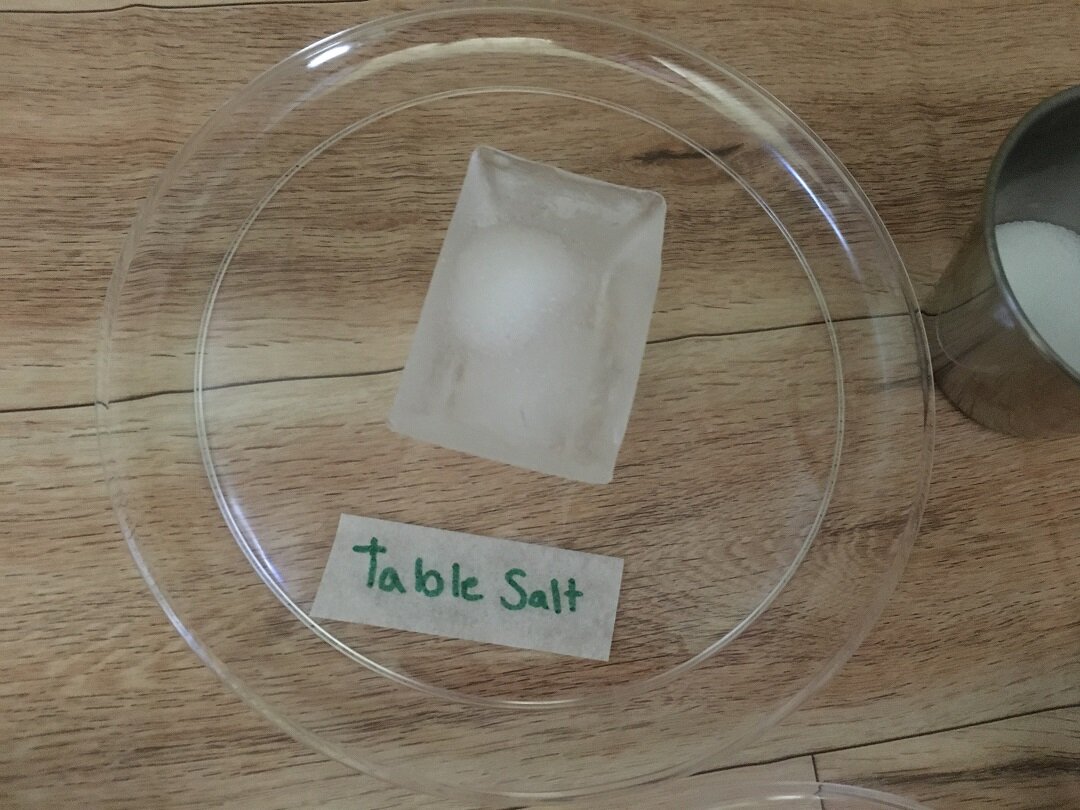
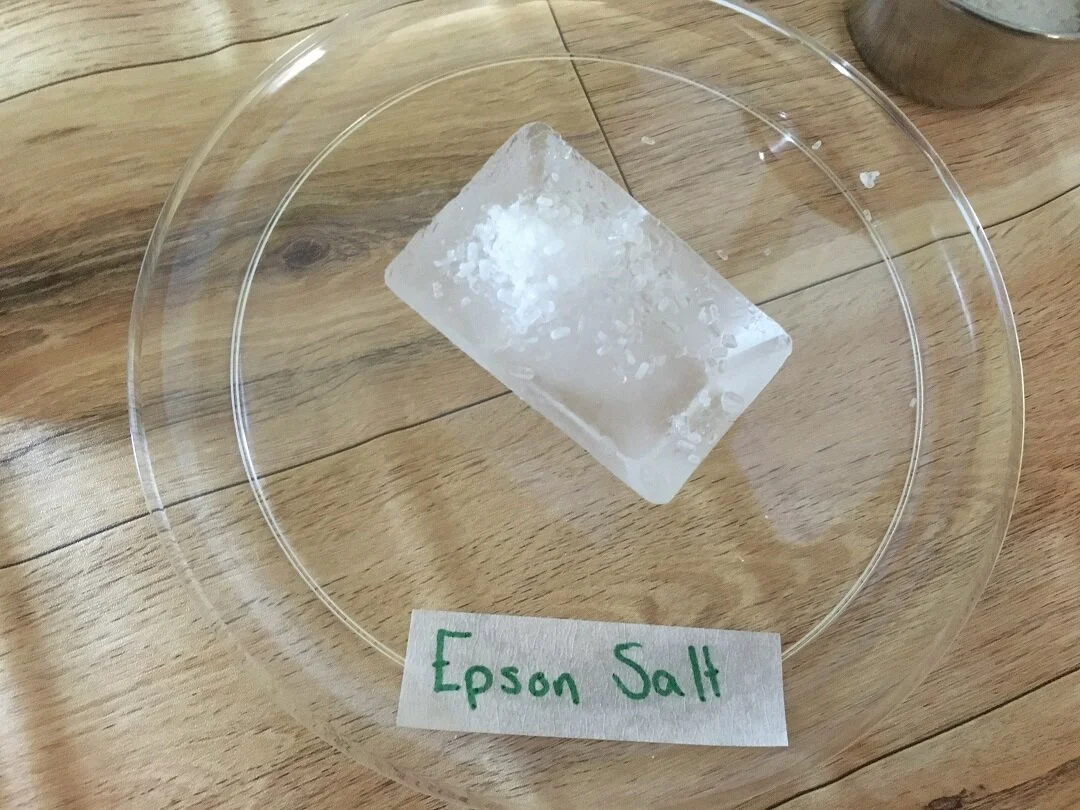
1. Label 3 plates with the type of salt you are using: sea salt, Epsom salt, and table salt. Label a 4th plate with “only ice”. This is the control variable for the experiment, the one thing that doesn’t have anything else effecting it.

2. Remove the ice cube tray from the freezer.
3. Place an ice cubes on each plate.
4. Put the different types of salt in small bowls and place by the in front of the plate that is labeled with that type of salt.
5. Using measuring spoon, add only ½ of a teaspoon of salt onto each of the ice. Try to do this with each type of salt as quickly as possible.
6. Start the timer. Observe which ice is melting the quickest.

Observations:
• Does the kind of salt make a difference on the speed the ice is melting?
In our observations, we found that the table salt melted the fastest, followed by the other types salt. However, the speed it melted was very close to being the same. I wonder why this is? Perhaps it is the size of the salt crystals.


Try this experiment for yourself and make your own observations.
Conclusions:
By using salt as a variable in this experiment we were able to notice the changes that it made to the ice. It started off slow but after a few minutes, the ice began to melt. The table salt seemed to melt a bit faster. We observed that the time between when the salt was added and when we first saw melting on each kind of salt wasn’t that different from each other. We observed that all salt melts ice but the small particles in the table salt might have made it melt faster.

What other experiments can you think of? Here is a list of some hypothesis ideas to get you thinking:
• What would other substances such as sugar, baking soda, or flour do to ice?
• What kind of soap makes the best bubbles?
• Does the type of music help me to concentrate?
• Can a plant grow without the sun?
• What liquid keeps ice frozen for the longest time?
• Can a plant grow if the pot is upside down?
Taking it further:
If you do not know the answer to a question, learn and research more about it. Encourage dialogue about science and discuss topics with others in your family.
Not all questions are good questions to use to explore the scientific method. A good question is something that can be investigated. Help guide questioning into ones that can be tested and ones that might be better to be researched. If the question cannot be investigated through the scientific method, you can still research the topic to learn more.
Encourage observation and note taking. Create a lab book for making notes on paper. If written skills are not developed, use words to describe out loud what it is happening or draw pictures.
Loving this content? Make a donation to the Saskatchewan Science Centre!
#letssciencethis #SaskScienceCentre #AtHomeWithCASC #ScienceChampions #ScienceAtHome #realsciencerealfun #scientificmethod #icemelting
Build A Home Obstacle Course Activity
Keeping physically active is an essential part of living a balanced and healthy lifestyle. By using items found around your home and backyard, design, build, and complete an obstacle course that involves seven key aspects of physical fitness.
Activity Type:
Challenge
Age Group:
3 and up – can be easily adapted for any age group or fitness level.
Description:
Keeping physically active is an essential part of living a balanced and healthy lifestyle. By using items found around your home and backyard, design, build, and complete an obstacle course that involves seven key aspects of physical fitness.
What You Need:
The central idea with this challenge is to use the spaces and things you may find around your home or in your backyard. This following list is merely a suggestion of where you could begin. Remember – science is about experimentation, and there might be other things around your house that would work just as well or even better than the supplies we've listed here.
• Pens, pencils, markers
• Paper
• String
• Tape
• Bed sheets
• Pillows
• Chairs
• Books
• Cans of food
• Kiddie pool
• Pool noodles
• Scarves
• Skipping ropes
• Sports balls
• Spoons
• Balloons
• Bean bags
• Hula hoops
What You Do:
1. Think about the space you want to design your obstacle course in. Do you want to use your bedroom? Living room? Basement? Backyard? All of the above?
2. Think about the supplies and materials you have available to use. How could you use them to create different obstacles? How do you want to move through them, over them or on them? Where is the start and where is the finish line?
3. Open spaces are a great opportunity to move. What activities can you do without the supplies? (running on the spot, jumping jacks, pretending to play an instrument, dancing, balancing with one foot of the ground, stretching). What activities can you create in your obstacle course that will test your strength, flexibility, endurance, balance, agility, power, and get your heart beat up.
4. Don’t forget to work your brain muscles! Add mental activities to challenge your thinking. Are there any puzzles or brainteasers you may want to create for your obstacle course?
5. Draw a map of what your obstacle course will look like.
6. Build your obstacle course
7. Test out your obstacle course. What worked? What didn’t? How can you improve it? What else can you create for your obstacle course? Challenge yourself to beat your best time.


Explanation:
• In order to be healthy, our bodies need to move every day and need certain types of exercise to be the best body they can be.
• Creating and designing this obstacle course is great mental exercise as well, or exercise for you brain through creative thinking and problem solving. Exercising our brains is just as important as moving our bodies everyday.
• There are seven aspects of physical fitness:
o Cardiovascular – These are activities that get your heart pumping blood through your body and muscles. Great cardiovascular activities include running, walking, swimming, skipping, biking, and jumping.
o Flexibility – These are activities that help develop your range of motion around your joints like your hips, arms, knees, neck etc. Excellent flexibility activities include stretching, yoga, or just touching your toes.
o Muscular Strength – These activities develop how much force your muscles have. Activities for muscular strength include lifting heavier things (like how many books can you lift at one time?), squats, and push-ups.
o Muscular Endurance – These activities develop how many times your muscles can repeat exerting force. For example – how many times can you lift that pile of books? how many push-ups can you do?, before your muscles become too tired an need a rest.
o Power - Power activities develop your ability for speed and bursts of high intensity movements. Examples include sprinting as fast as you can or jumping as high as you can.
o Agility – These activities develop your ability to move in different directions in rapid succession. For example – zigging and zagging around some rocks on the ground, or hop-scotch.
o Balance – Balance activities are all about keeping control of your body while remaining stationary (like standing on one foot, or doing a handstand), or while moving (like walking across the room balancing a book on your head).
Taking It Further:
• How could you make your obstacle course more challenging?
• Have someone time you as go through your obstacle course. How fast can you safely complete it?
• Try doing your obstacle course 3 or 4 times in a row. Then check your heart rate or pulse to see what
• Do your obstacle course each day for a week. Keep an activity journal of your progress. Are you faster at the end of the week than you were at the beginning? Are you able to jump higher? Lift more?
• Use all your senses, paying attention to how your muscles in your arms and legs move. If someone was watching that you were safe, do you think you could do your obstacle course blindfolded? Is it easier or more difficult to do?
Other Thoughts:
• Allow your children to move, create a space in which they can pretend, move and explore. Try creating your obstacle course outdoors or in a park
• You don’t need to use extra supplies or materials. Use objects that are in the environment such as stairs inside or hills in outdoor spaces.
• Encourage questions, imagination and exploration. If an idea seems impossible, let your children explore the idea safely and let them explore solutions even if they do not work. To prevent frustration and encourage overcoming challenges, ask prompting questions such as ‘how can this be changed to have a different outcome?’
• Enjoy a bit of chaos. Take a step back and let imaginative play happen.
Helpful Resources:
Loving this content? Make a donation to the Saskatchewan Science Centre!
#scienceathome #letssciencethis #stem #SaskScienceCentre #AtHomeWithCASC #ScienceChampions #realsciencerealfun
Lava Challenge
Challenge your imagination to find your way around lava. Lava is hot, liquefied rock that flows from a volcano or other opening in the surface of Earth.
Challenge your imagination to find your way around lava. Lava is hot, liquefied rock that flows from a volcano or other opening in the surface of Earth.
Start with the following scenario or feel free to create your own story: A volcano has just erupted leaving you stranded at one side of the volcano. Lava is very hot, and you can’t touch it. You need to get across the lava to reach important survival gear. How can you get across the lava without touching it? Use lava proof platforms, of course!
What you need
Lava safe platform(s) - foam mats, yoga mats, cushions, and/or pillows
Survival materials - 4 flags, ribbons, scarves, or yarn scraps
Space that is safe to move around in. If possible, try playing outside.
What you do
Setting up the game:
Place the colored flags (ribbons or scarves etc.) you must collect at one side of the room or yard; these will be the survival materials you need to collect. At the opposite side of the space, set a home base where you will start.
Spread the mats or cushions between home base and where you placed the survival materials. These are your lava safe platforms.
Playing the game:
Your goal is to collect all the flags and make it back to home base without touching the lava (or floor). Once the game has begun, you can ONLY stand safely on the lava safe platforms – you will have to jump from one to the next and not touch the floor, which is extremely hot lava. You can only bring one flag at a time back to the home base so you must work as a team to successfully retrieve all the survival materials.
If you land in the lava, you must start back at home base. And if you have a flag, you need to put it back.
Keep it challenging! Change the platforms and move them around, remove some to make it even more interesting.
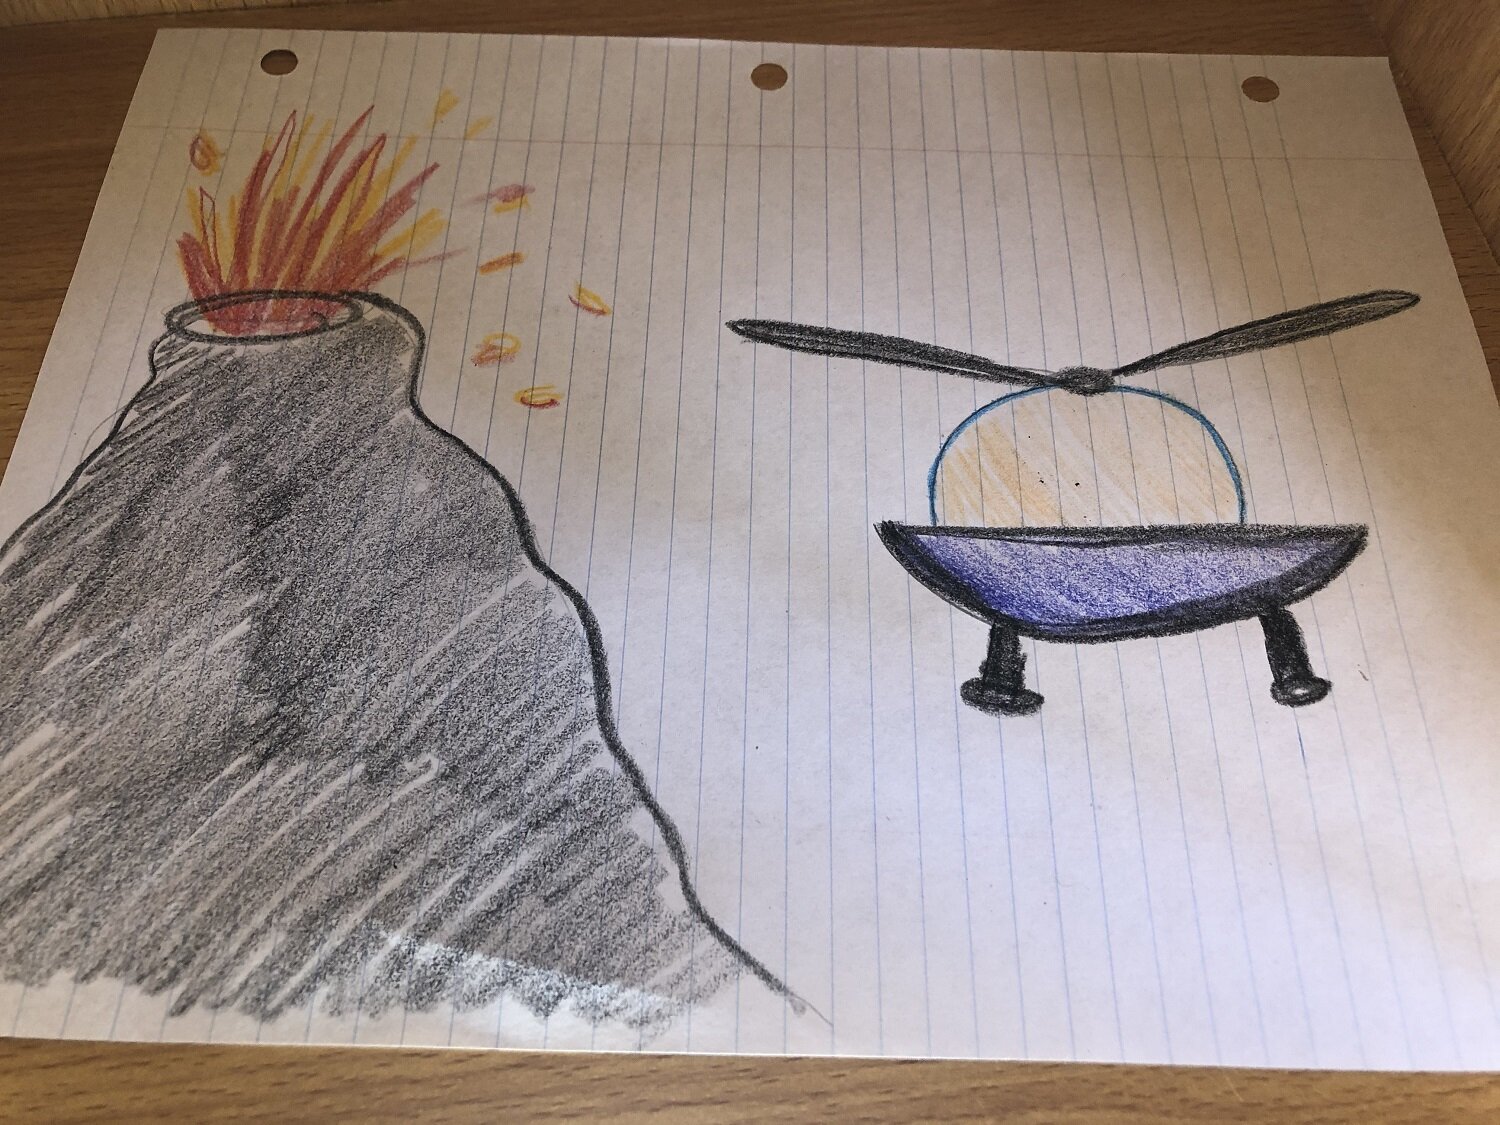
Now that you have been saved from the volcano eruption, you want to be sure this doesn’t happen again. Your next challenge is to build a model of a vehicle, bridge, or other device that can safely transport people over lava.
What you need
Recycled materials such as cardboard, paper tubes, plastic containers, milk cartons
Scissors
Tape
Paper
Pen
What you do
1 - Brainstorm some ideas on what to create that would solve the problem of getting to safety if a volcano erupted.
Is it a vehicle, a bridge, or a flying machine?
What are some things you need to consider? Temperature of lava, materials that can withstand high temperatures, and other obstacles that might happen.
2 - Draw some designs or sketch your ideas.
How will it move, function, and what might it be attached to?
Does it need a foundation?
What material will you built it with
3 - Collect the supplies you will use to build a model of your design.

4 - Build your model.

5 - Explain and demonstrate your model. Think about what materials you could use if you were building your design. Would be strong enough to withstand the heat and pressure of an exploding volcano. Do you think your model would work? If not, what changes can you make to improve the design?
Explanation:
Lava is very hot! It can be 700 to 1200 degrees Celsius. Volcanologists, scientists that study volcanoes, use specially designed equipment and tools to study an active volcano.
Materials that volcanologist wear must be flame resistant, be durable, and light weight so they can easily move. It also must have a lot of pockets to hold notebooks, markers, GPS, rock samples and to hold clips for caring tools like rock hammers and their helmet.
There are a few different types of volcanologists. Physical Volcanologists study the ways volcanoes erupt. Geophysicist Volcanologists study volcanic earthquakes, gravity and magnets. Geodesic Volcanologists study the changes in the shape of the earth and how volcanoes are formed. Geochemist Volcanologists look at the makeup of different types of volcanoes and what they might send out when they erupt such as ash, gasses or molten rock.
Volcanologists know when it is safe to explore a volcano and when it is not. They use a lot of safety precautions to do their job.
Building structures where there might be a volcanic eruption will need to consider a few things such as
o Building on stilts made of titanium or tungsten, to be able to withstand the pressure and the heat of lava flow.
o Have reinforced roofs that can hold ash and other debris.
o Some volcanoes spew out dangerous gasses, therefore buildings would need to be airtight with a special system to filter outside air.
Loving this content? Make a donation to the Saskatchewan Science Centre!
#volcanoes #scienceathome #sasksciencecentre #realsciencerealfun #AtHomeWithCASC #ScienceChampions #ScienceAtHome #sscvolcanoweek
Stop Motion Movie Challenge
Get creative, use your imagination, and direct your own motion picture! Using single images, you will create your own movie using stop motion animation.
Stop Motion Animation
Get creative, use your imagination, and direct your own motion picture! Using single images, you will create your own movie using stop motion animation.
What you need
There are many great apps that you can use to create your animation. Here are a few suggestions that we have tried and are available to download for free:
You will also need:
Backdrop – cardboard, whiteboard, or poster paper
Camera on a phone or tablet
Tripod to hold the camera
Toys or other objects
Clay to make claymation
What you do
Write your story. Start by building your story. What do you want it to be about? Use your imagination to think of a unique story. Having a storyboard to get your ideas out helps when you are capturing your images later. Each box in your storyboard has a drawing of the image you want to capture along with the actions you want to take.

Build your set. Create a backdrop that is stable and will not move. This can be done using cardboard or other heavy material. Draw or add graphics to create the background you want for your story.

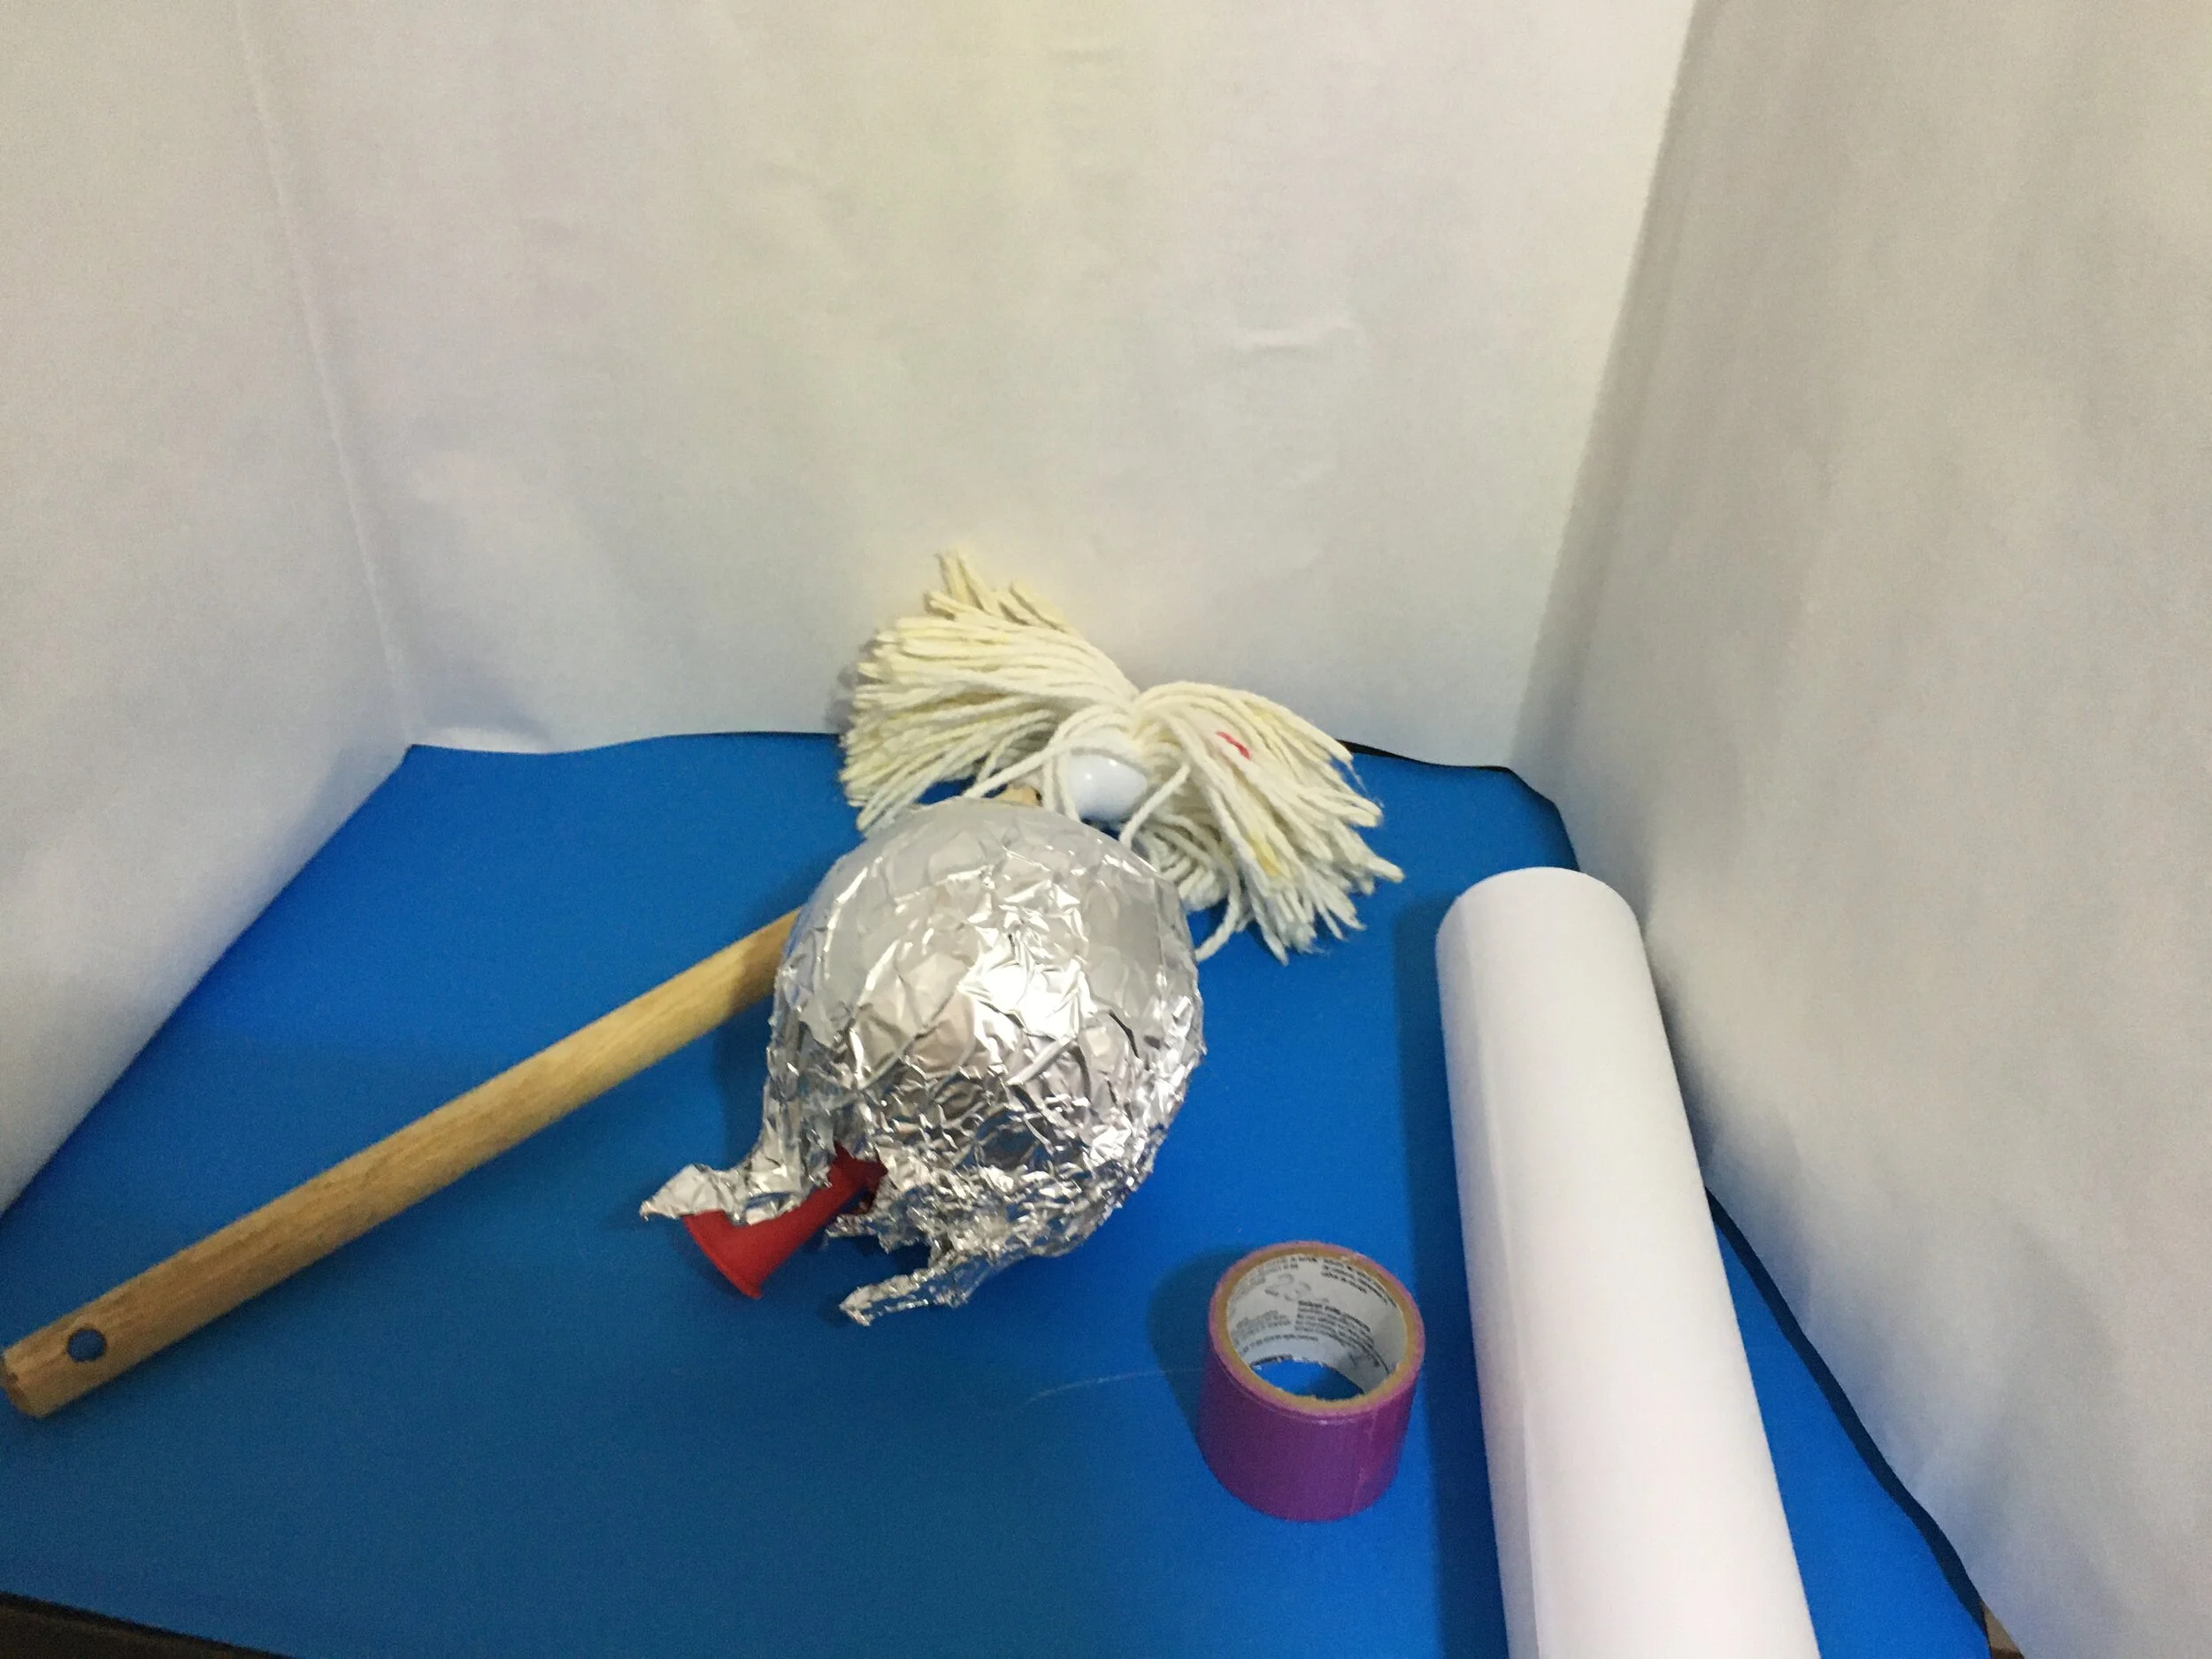
Create your characters. Using your story as a guide, find your characters. You can use toys, action figures, or even make your own out of paper or clay.
Start filming. Be sure to have the app you are using already downloaded. Each app will be a bit similar, but it is a good idea to review any available tutorials or make a few test videos and practice using the apps features.

Tips and Tricks:
Be sure to have good lighting. Position the lights so there are no shadows as you take the images.
Use a tripod for the camera and a stable background. Both should be kept still for the entire scene. This really helps to make sure that all the images are consistent from picture to picture (or frame to frame) and the only things that move are things you want to move. Some apps will use something called onion skinning, which shows a shadow of the previous image. This feature helps to know how each object has moved.
Use scrapbook paper or posters as a cool background. You can also use a green screen with some apps to be able to change the background later. Here are a few examples of short stop motion videos.
Sample Stop Motion Videos
Explanation:
Stop motion animation uses multiple images connected together to make an animation. In each image something changes just a bit, making what you are watching appear as if it is moving. In most films, there are 24 still images (frames) per second. Your brain puts all those images together as a series of moving images.
Notes:
At Home Lesson Plan - http://www.makerspaceforeducation.com/stop-motion-animation.html
Tips To Get You Started - http://www.teenlibrariantoolbox.com/2015/12/take-5-stop-motion-animation-hacks-for-a-makerspace/
Instructables - https://www.instructables.com/id/How-To-Make-a-Stop-Motion-Video-Using-your-Phone/
Collection of Apps - https://www.colourmylearning.com/2017/11/the-best-stop-motion-animation-kits-for-kids/
Build A Vermicompost Hotel
Invite some of your worm friends over to your brand new worm hotel! Create a living ecosystem called a vermicomposter and learn how worms can speed up the composting process of your vegetable and fruit scraps from your kitchen — making rich, natural fertilizer for your garden.
Invite some of your worm friends over to your brand new worm hotel! Create a living ecosystem called a vermicomposter and learn how worms can speed up the composting process of the vegetable and fruit scraps from your kitchen — making rich, natural fertilizer for your garden.
Activity Type:
Project
Age:
7 years old (with adult supervision) to adult
What You Need:
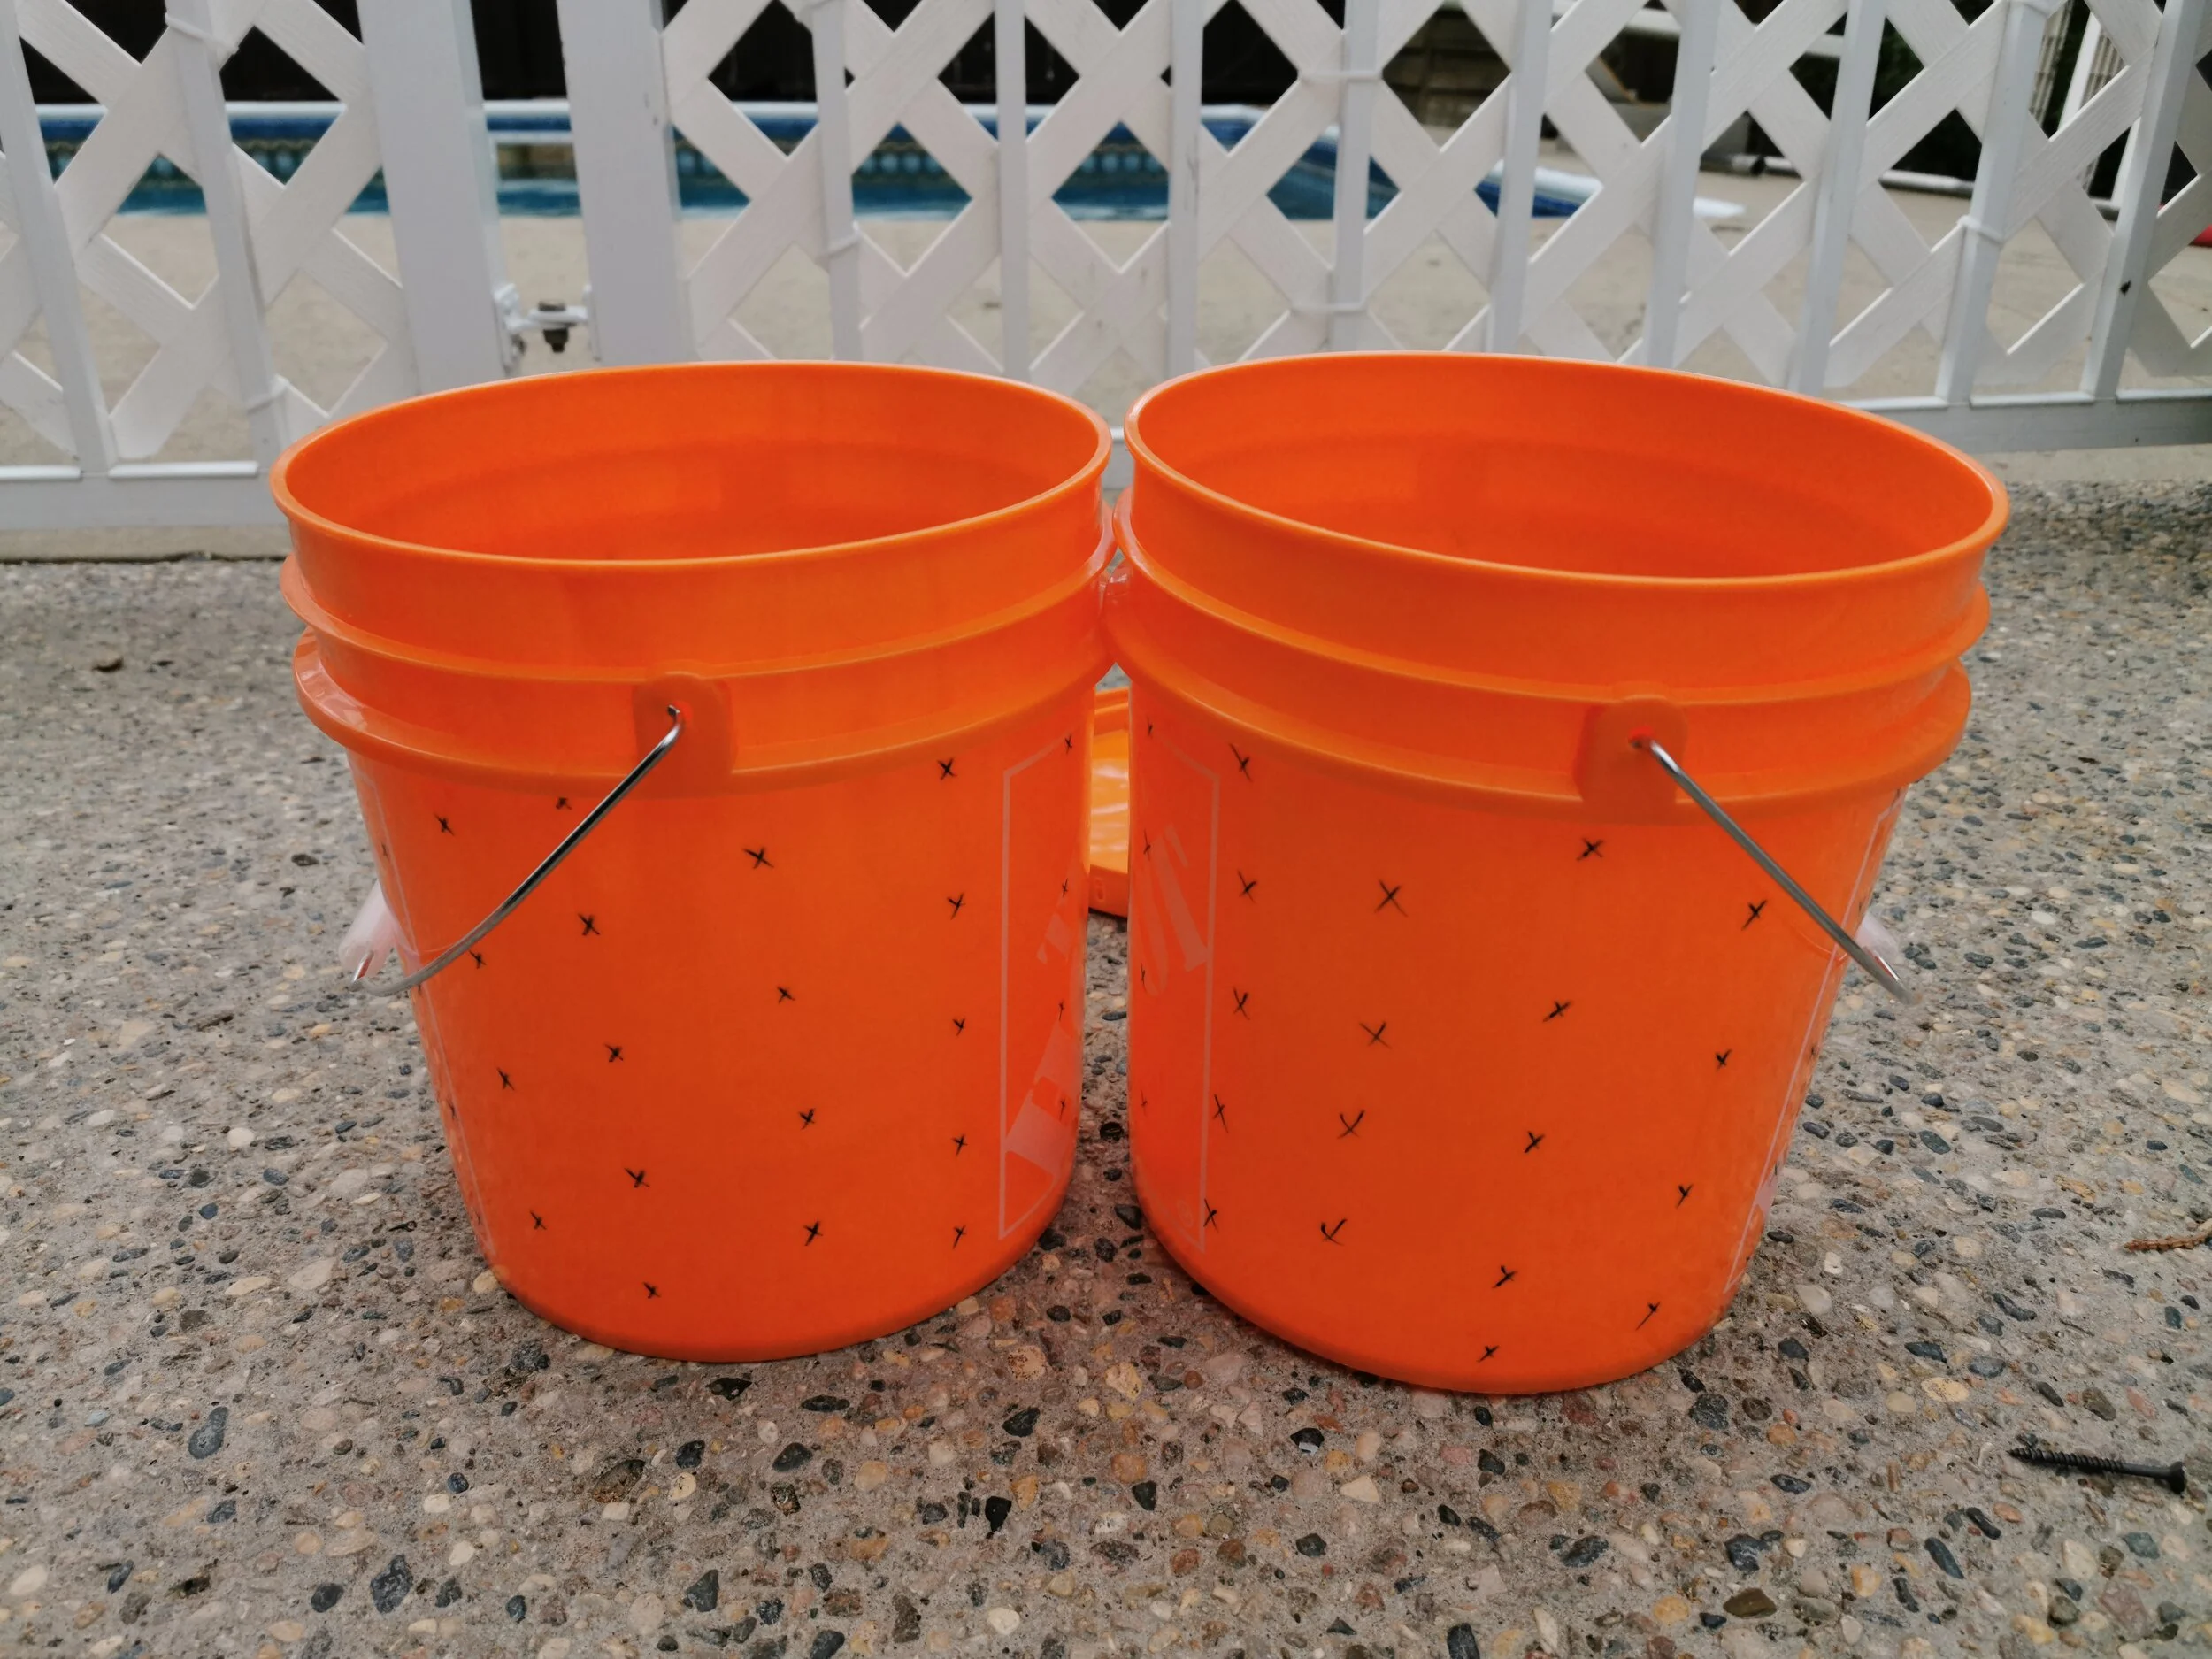
• 3 x 2-gallon or 5-gallon pails
• 1 x lid for a pail
• Drill & drill bits (1/8” & 1/4” )
• Red wiggler worms
• Newspaper
• Carbon-based material — cardboard, wood chippings, grass clippings, or recycled egg cartons
• Food scraps
• Water in a spray bottle
• Optional: a small amount of garden soil, gardening gloves, screen material, erasable marker.

Buckets And Drill For Your Worm Hotel

Starting Supplies For Vermicomposter
What You Do:
Step #1
Using a drill and 1/8” drill bit, drill holes into the sides of two of the pails. Spread out the holes from top to bottom and all around. This helps provide aeration for your vermicomposter.
Mark Holes On Two Of The Buckets

Drill Holes In Buckets
Step #2
In your third bucket, drill holes that are 6 inches from the top of the bucket. Keep all holes above the 6-inch mark and don’t drill any lower than that. This is where any liquid will be caught at the bottom of the vermicompost. Add the lid to the bucket and drill air holes into it as well. (Approximately 20-30 holes)

Mark & Drill Holes On Drain Bucket

Drill Holes In Vermicompost Bin Lid
Step #3
With the ¼” drill bit, make 15 to 20 holes into the bottom of the first two pails (NOT the liquid catching bottom pail). Remove any dangling plastic pieces from the holes and empty all the plastic bits from the pails. When completed, put one of the pails into the liquid catching pail. This is your first working pail for the vermicomposter.

Drill Holes In The Top Two Buckets

Slide The Buckets Together
Step #4
In the first working pail, cover the holes in the bottom with 2 sheets of newspaper to cover the holes and spritz lightly with water. Do not soak, only moisten! This is to allow liquid to go through to the bottom pail but prevent worms from falling into the bottom pail.

Add Two Sheets Of Newsprint To The Bottom
Step #5
Add shredded newspaper and other carbon-based material to create bedding for the worms. This helps keep the temperature and moisture levels at the right spot for your vermicompost.

Shredded Newspaper In The Vermicomposter
Step #6
Add the worms, also add the bedding and casting (compost) that the worms came in.

Red Wiggler Worms For The Vermicompster
Step #7
Add a very small amount of food scraps and cover with carbon material. Allow the worms to adjust to their new surroundings for about a week before adding more scraps.
Store your worm hotel in a room temperature, darker location such as under the kitchen sink or in a laundry room. Make sure to put the lid on tight. Optional: You can add the screen material to the lid to help prevent flies/bugs from entering your vermicomposter.

Vegetable Food Scraps Make Great Worm Food

Cover With Shredded Paper
Step #8
After a week or so, you are ready to start adding scraps regularly. Make sure to add the right kinds of foods and not too much at one time. When adding scraps, dig a small trench on one side, add scraps and cover with more bedding or carbon-based material. Avoid using dirt for this (but it is suitable in a pinch). Leave for 1 to 2 weeks until all the scraps are processed. If they are not processed in 1 or 2 weeks, you have overfed your worms. When adding more scraps, add to the other side of the bucket and move around the spot you add the food scraps.

Swapping Buckets Around
Step #9
As the worms start to process your kitchen scraps, they will produce more and more castings (compost). As the containers starts to fill, it is time to add the 3rd and final pail to your vermicomposter.
Step #10
Add the third pail on top of the vermicomposter. Add some carbon rich shredded newspaper to the bottom, spritz with water, add scraps and more newspaper, wood chippings (small amount), egg carton or shredded cardboard.
Step #11
The worms will work their way up into the new working layer of your vermicompost over time and leave all the castings in the first working layer to be harvested. You can add a fourth bucket in time and rotate the 3rd and 4th buckets for easy harvesting.
Reaping The Rewards:
You will end up with liquid in the bottom bucket, called “worm tea”, this liquid is an amazing fertilizer. Dilute the worm liquid with water and use in your indoor plants and garden. Mix your worm castings (processed food, worm poo!) into your vegetable soil and see how great your yields are.
Tips For Best Results
Do not use meats, bones, processed foods, dairy, spicy foods, highly acidic, oily, or non-foods in your bucket, and minimize grains. Stick to vegetables and fruit as well as things like coffee grounds, tea leaves, and blended eggshells for grit and texture.
Cutting your scraps into smaller pieces helps speed up composting time and is better for smaller buckets.
Your compost bin will not smell if you are feeding them the right types and amounts of scraps, but if you do find there is a smell, then the microorganisms in your vermicompost have gone from aerobic to anaerobic, and adding more carbon rich scraps, such as shredded newspaper should help return the microorganisms return to an aerobic state
Keep your vermicompost in a place in your home that is darker most of the time (laundry room/crawl space/cupboard) and in a temperature of 13 to 25 degrees Celsius. If it is too cold or too hot, your worms will slow down their consumption. Ideal Moisture: 60-70% moisture is ideal, if too soggy add more carbon-based material. Spritz with water if you think the vermicompost is too dry.
Taking It Further:
Vermicomposting – the use of worms to convert organic waste into fertilizer.
Compost Castings - a convoluted mass of soil, mud, or sand thrown up by an earthworm or lugworm on the surface after passing through the worm's body. Castings are also known as vermicast, worm manure or worm poo.
As the worms eat through the compost in the worm bucket, the leftover worm waste(castings) is an optimal soil enricher. Red wiggler worms are the best choice for quickly converting food scraps into fertile compost and can eat about half of their weight in food every day. Tiny sensory cells in their mouths alert the worms when they have found the more nutritious scraps. When food enters the mouth, the pharynx acts as a suction pump to pull the food into the digestive tract. It travels through the esophagus, into the crop. After the food has been crushed in the gizzard, it travels to the intestine. The intestine takes up most of the length of the worm. This is where nutrients are absorbed. At the end of the worm is the anus. Dark, earthy material called “worm castings” are excreted. Worm castings are alive with soil-friendly bacteria and valuable nutrients.
Additional Resources:
https://home.howstuffworks.com/vermicomposting1.htm
https://unclejimswormfarm.com/red-worms-eat-compost/
https://www.gardeningknowhow.com/composting/vermicomposting/worm-castings.htm
Loving this content? Make a donation to the Saskatchewan Science Centre!
#SaskScienceCentre #AtHomeWithCASC #ScienceChampions #ScienceAtHome #realsciencerealfun #wormfarm #compostbin